Showing posts with label vegetarian. Show all posts

Mickey's Pizza

If you’ve ever doubted the power of word-of-mouth advertising, then I am here to prove you wrong. Case in point: Mickey’s Pizza. I hadn’t heard of it until someone on my Twitter account posted a picture of one of their pies, and my interest was piqued. A little bit of research and asking around the office and a few people mentioned that they heard about Mickey’s and how good they were. My interest piqued some more.

The website is interesting. Mickey’s has a “thing” for dragons and feeding them, and a cute story about the dragon fuelling their oven. There are cute videos on their website under “What’s with the dragon?” that had me hooked. That, and their guarantee that you’ll love their pizza or they’ll give you every penny of your money back, and I *had* to try it. Something that claims to be the “best tasting pizza you’ve ever had” is bold. Because I’ve eaten a lot of pizza.

We pulled up to the plaza one night when there were a group of boys playing hackey sack outside Mickey’s doors – kind of an inconvenience to walk around/through the group when the entire rest of the strip plaza was closed due to the hour, but I guess they liked playing with the smell of pizza wafting by. The store itself isn’t set up for dine in (no tables) and is brightly painted and lit. The walls are covered in quotes printed off from satisfied customers, and a chalkboard on another wall asks a question of the week where patrons can doodle their own answers with the available chalk.

There is a long counter of toppings behind glass (think a Subway or something like that) so you can see your pizza being made – or be like me, and ask for more/less toppings as they make them. A large round oven unlike anything I have seen before takes up a fair size of the space as well. It reminds me of a hair dryer you sit under at the salon, but I liked that it looked futuristic and it was completely open so you could see it. They were really nice at Mickey’s and even let me come behind the counter so I could get a good picture of our pizza while it was spinning around in the oven!
Speaking of really nice, the service here was phenomenal. Everyone was friendly and patient with all of the questions I had, and also with my indecision with what we wanted to eat. Although they have their version of a Chicago-style pizza, called the Killer King, we opted for the traditional crust (I couldn’t handle all that cheese so late at night) and went with their vegetarian pizza, the Green Dragon.

A large Green Dragon ($21) was enough to feed four of us, and was loaded with mushrooms, sautĂ©ed spinach, roasted red peppers, green peppers, caramelized onions and olives. We got a mixture of the kalamata olives and the black olives, and topped it off with goat cheese. We had asked for artichokes on it as well, but didn’t notice until we got it home that they forgot it. Regardless, it was still delicious. The dough was the perfect thickness so that it was a little crispy on the outside edges but soft in the middle. Actually, I would have probably preferred that it was cooked a little longer because the dough was so soft that the slices were a little flimsy with all the toppings, and could have stood a little more structure and crunch to it. That being said, the dough tasted fantastic. There’s a slight buttery smell/taste to it that really made it stand out. I know, buttery and pizza dough don’t usually go together, but trust me – it was delicious. The toppings were fresh and plentiful, and I’m glad we went with the goat cheese (feta or mozzarella were also options) because the bite worked perfectly with the subtle vegetables and buttery dough.  Hands down, the best tasting vegetarian pizza I have ever tasted. The boyfriend (I guess I should call him the fiancĂ© now) is normally a meat eater, but he remarked that there was so much flavour and texture happening, he didn’t even miss having meat on it. Now there’s endorsement, for you.
A gem in Clarkson, Mickey’s stands out from the mundane pizza places that sit on every street corner. It’s brought a touch of gourmet excitement to a market that has been saturated with mediocrity. You think you know what pizza is? You have no idea until you try pizza at Mickey’s. They’ve certainly awoken my dragon, and he wants to be fed!

Mickey's Pizza on Urbanspoon
Mickey’s Pizza
1900 Lakeshore Rd. W., Mississauga
www.feedyourdragon.com

Recipe - Cheesy Potato Soup

I am not a soup person. Well, let me clarify that. I am a lover of noodle soups (which is very big in the Vietnamese culture), but I am not generally a fan of soupy soups. You know, the kinds you find in cans in the grocery stores...not my thing. I want body and texture to my soups, not the watery bleh-ness that makes me think I’m eating a bowl of savoury tea.

That being said, the boyfriend loves soup. He could eat soup morning, noon and night and be happy as a clam. I think I found a solution to the great soup divide, and it all came about because I had a bunch of potatoes and carrots that needed to be used, and used in mass quantities. This soup has the substance I need with its chunks of vegetables and potatoes, as well as the warm comfort that the boyfriend likes from a hearty bowl of old fashioned soup. I like the simplicity of this recipe that yields such a deep flavour, from hardly any work at all. In fact, the basic ingredients when combined in this bowl of awesome, all lend such distinct flavours that it tastes much more complicated than it really is. Just be prepared for a lot of chopping (I hate chopping).
 Cheesy Potato Soup

2 Tbsp oil
1 onion, diced
3 carrots, diced
1 pound potatoes, peeled and cubed (about 6 large)
4 Cups, chicken broth (low sodium)
3 Tbsp butter
3 Tbsp flour
2 Cups, milk
2 Cups, grated cheddar cheese + more for garnish
Salt and pepper to taste
*Optional: chilli powder and garlic powder


1.       Heat oil in large soup pot and cook onions and carrots until softened.
2.       Add potato and chicken stock (should be enough stock to cover everything, if not, add more or water).
3.       Bring to boil and cook until potatoes are tender, approx. 20-25 minutes.
4.       In separate pot, melt butter over medium-low heat. Once melted, add flour to form a roux, whisking to combine. Cook for about a minute.
5.       Add milk to roux slowly, whisking constantly to smooth out any lumps. Continue to heat while whisking until mixture thickens, approx. 5 minutes. (If mixture does not thicken, add a bit more flour).
6.       Once it reaches the desired thickness, remove from heat and stir in grated cheese until creamy and smooth.
7.       When potatoes are tender, pour the cheese mixture into the soup pot, stirring well to combine. Heat to simmer and cook until thickened. Season with salt, pepper and garlic powder to taste. (For an extra kick, add chilli powder).
8.       Sprinkle extra grated cheese on top and serve with crusty bread.

Makes 6 large servings. Freezes well.

Recipe - Kale Chips


One of the reasons that I’ve been quiet for the past while is because I decided to go on a health kick for eight weeks (this being week three) and that meant getting used to a few schedule changes to accommodate my recent lifestyle. Now that I’m getting more accustomed to my routine, I’m hoping that I can get back to writing here more often (and take you through my extensive backlog of restaurant reviews, but also a few recipes that I’ve picked up along the way).  

I’ve been trying to eat healthier, and one of the things that I have been having difficulty with is making sure I eat plenty of fruits and vegetables every day. Don’t get me wrong, because I do eat lots of greens, but I’ve been trying to eat more – and trying to find new and exciting ways to eat them. Let me tell you, I have found the Holy Grail of vegetable recipes. It has changed my life and I’m not afraid to admit it, left me with a newfound obsession. I can’t stop making/eating/thinking about them.

Kale Chips. Chips made from kale. Kale. That is like chips. Whaaaat? Sounds weird, I know. You may even be like me and think it’s a hoax to make you buy a bunch of kale just to get it into your house. No, friends, this is the real deal. The bomb. The shizzle. The best snack I’ve eaten in a long time. This simple method of preparing it has turned what is an unpleasant, bitter, tastes-healthy-so-it-must-be-gross, leafy vegetable, and turned it into a lighter than air, crisper than potato chips, you-can’t-eat-just-one, delight. In fact, each time I make this recipe, whole bunches of kale are devoured at a time. When have you ever said that? When have you willingly sat and ate an entire bunch of kale in a sitting – not because you have to, but because you want to? The first time I made these, I served them as a side to a “cheesesteak” sandwich, and the boyfriend looked at me with scepticism in his eyes. After his first bite though, I had to fight him to get the last few off the plate. This is the magic of kale chips, and I’m about to blow your mind with how easy it is to make these delicious beauties.

To start, wash your kale and then dry it very very thoroughly. I go to the extreme and run it through the salad spinner and then pat the leaves dry on top of it. You don’t want any moisture on it at all, to ensure that they’ll be nice and crispy once they’re baked. At this point, you can preheat your oven to 350.

A leaf at a time, cut out the middle vein (is it called a vein? I call it a vein) and keep the leafy part off the stem. You can cut it down into smaller pieces if the leaves are big, but keep in mind that they’ll shrink significantly in the oven. Toss everything into a bowl and drizzle the olive oil over the leaves, then use your hands and massage the oil into the kale – making sure you get every nook and cranny. If you don’t want to get your hands dirty, you can also put the kale into a baggy and drizzle the oil into it, then squish it around in the bag. Once all the kale has been oiled, spread them out onto baking sheets without crowding them – I find one bunch of kale usually takes up two normal sized sheets pre-baking, but they shrink to almost half their size after they're done. 
Pop the sheets into the oven and bake for between 15 and 20 minutes. You want the kale to be crispy, but once it starts to brown too much, it will taste charred and the bitterness returns. Just watch it near the end to make sure, it’s a quick jump from crispy to burnt. Once they’re baked, remove the pans from the oven and sprinkle salt to taste. I don’t have an exact measurement, but I typically use sea salt, and find that a dime sized amount in the palm of my hand is perfect in giving me the saltiness that I like.
The beauty with these chips is that they taste so good, you feel like you’re getting a treat. The crunchy, salty combination cures any cravings you may have for unhealthy snacks, and dipping them in ketchup makes you feel like you’re having fries! They’re also extremely versatile, so you can flavour them any way you like – add chilli flakes, or roasted garlic, massage in some vinegar with the oil for salt and vinegar chips...the possibilities are endless, but the results will still be delicious. 

Try them. Love them. Eat your weight in kale and find yourself inexplicably talking about them wherever you go, to whoever will listen. I promise you’ll be surprised at how addictive they are.

Recipe: Kale Chips
1 bunch kale
1 Tbsp olive oil
Salt to taste
Optional: other seasonings to taste
Optional (but delicious): ketchup to dip

1.       Preheat oven to 350.
2.       Wash and dry kale thoroughly.
3.       Remove stem and middle vein from each leaf. If leaf is still too large, cut into smaller pieces.
4.       Place kale into bowl and drizzle oil over top. Using hands, massage oil into each leaf, making sure all surfaces are lightly oiled.
5.       Place on baking sheets, making sure not to crowd.
6.       Bake for 15 – 20 minutes until crisp.
7.       Remove from oven and salt/season to taste.
8.       Eat one. Moan because it is so good. Hoard the rest and don’t share.

Will store in airtight container for two days. If you’re not eating them immediately, store in the airtight container or else they start to go soft.

Michelina's Harmony - Fettuccine with Creamy Pesto


I feel like we’re really starting to bond now that I’ve written a bunch of posts. You’re starting to get to know me and my neuroses, and I’m OK with that. Since we’re in the trust circle now, I have a confession to make. It’s something not many people know about. Ready? I really like frozen dinners. There. I said it. I feel better getting that off my chest. I hope you don’t think any less of me now.

I like the convenience of a full meal packaged into a tiny, frozen box that’s ready in a matter of minutes. Most of the time I like how they taste, and I like that I can have a variety of meals at my fingertips, ready to go whenever I need them. Having a full meal ready after a long day of work, or a quick lunch that I don’t need to leave the office for is a wonderful thing.
 
I have generally had good luck with Michelina’s and its line of frozen meals. I suppose it makes more sense to call them frozen meals rather than dinners since you can eat them at whatever point in the day you like, but it’s a habit I can’t seem to break. I digress. Michelina’s has a number of product lines, and this time I felt like trying its Harmony line because a creamy pesto sauce sounded like it had the potential to be delicious. I also thought that a dish without meat was more likely to be better, because there was less to mess up. Was I ever wrong.

The picture on the box was of a pasta dish brimming with vegetables with a creamy pesto sauce beautifully covering each noodle. What I got after I followed the microwave instructions and opened the lid was far from the picture. The noodles were separate from the sauce and vegetables, and needed a good stir to create the dish. However, the noodles were a clumpy ball and it was hard to mix the sauce into something that didn’t want to cooperate. The sauce itself looked like alfredo with flecks of green in it, and there were very few vegetables. There was one lone carrot in the whole box and some small broccoli florets. I realize that we generally eat portion sizes that are too big compared to what we really need, but this portion seemed exceptionally small. The fact that it was a large ball of noodle made it look smaller, I’m sure. It tasted watery, and there was nothing that made the pesto sauce distinguishable. 
 As I mentioned, I am usually a fan of Michelina’s various product lines. However, this particular meal is an emphatic pass on my part and I would never buy it again. There are plenty of brands and choices that make a far better product than this one. I’m not sure why it’s called the Harmony line of products, but the Fettuccine with Creamy Pesto was definitely off-key.  

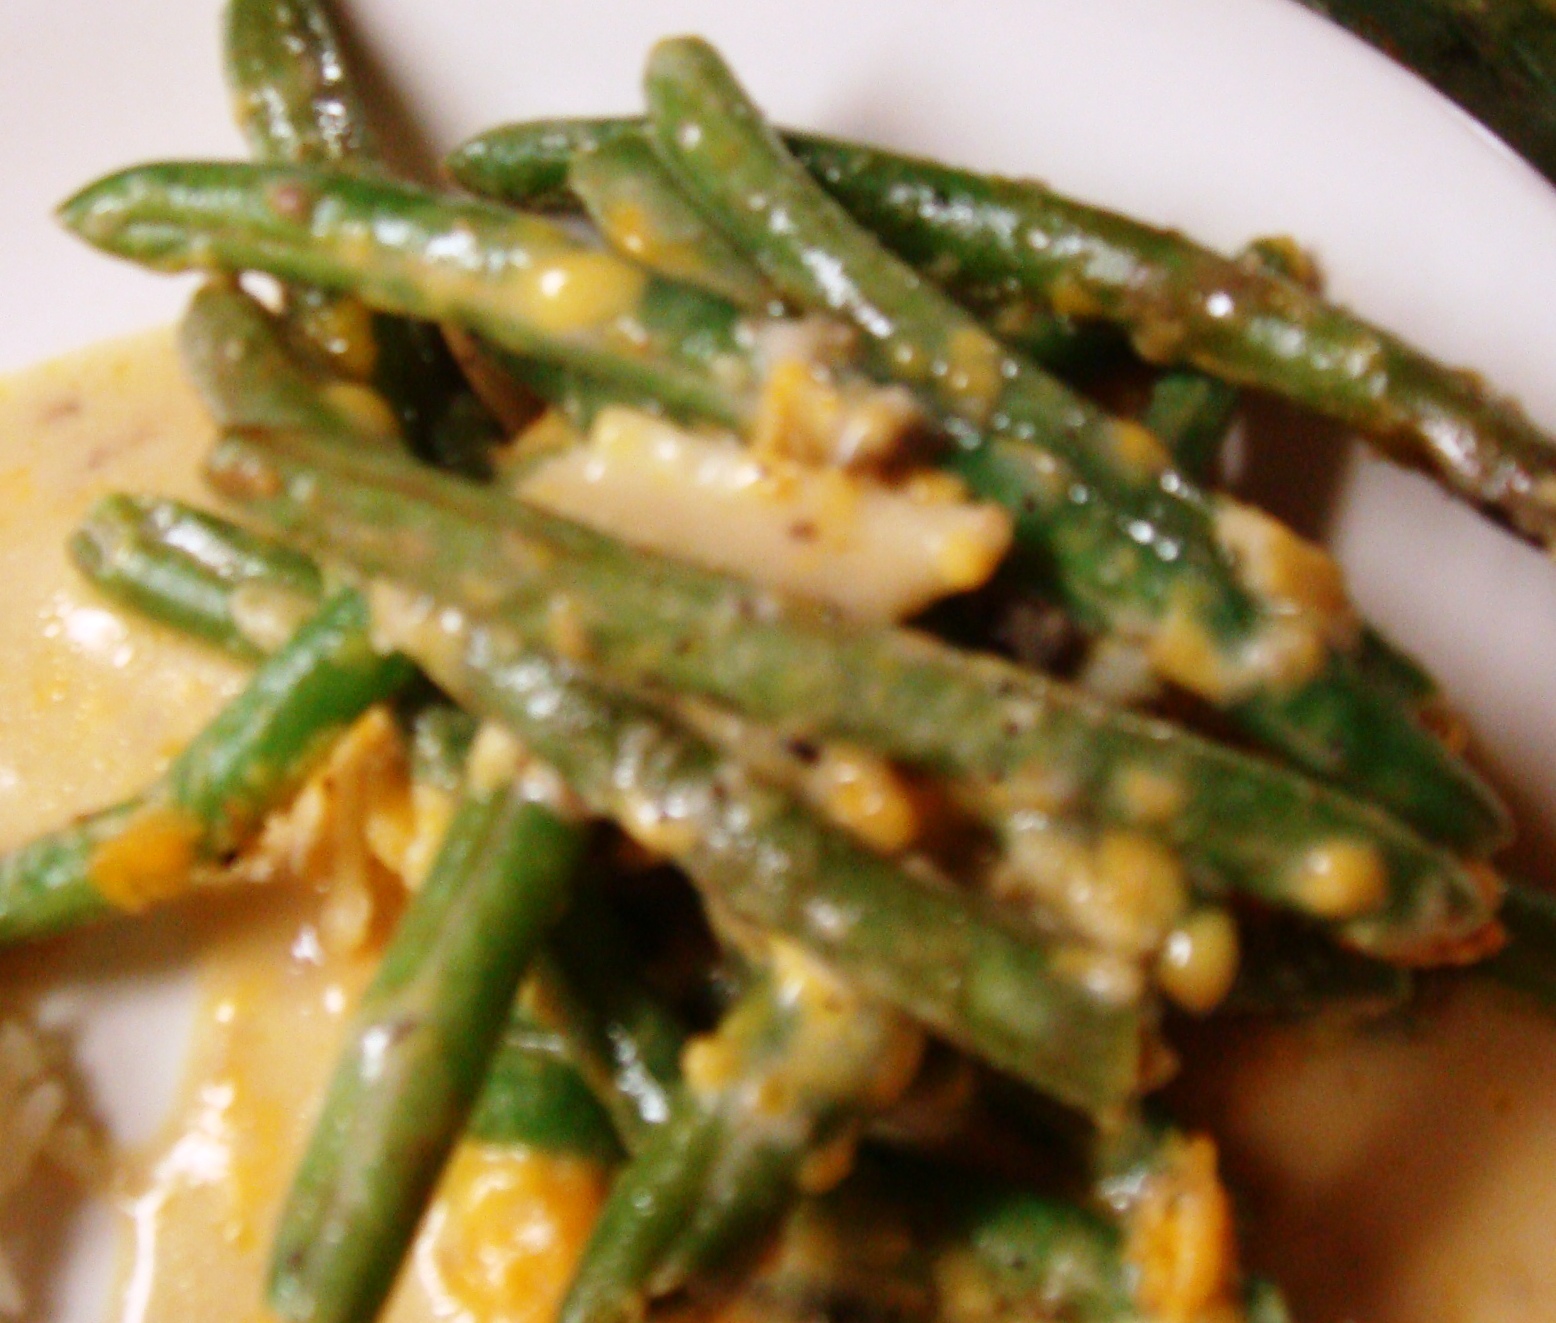
Recipe: Green Bean Casserole

One of my favourite things to do is search the web for recipes. Not necessarily to make anything, but I like reading and discovering new dishes. I also spend a lot of my time on various food blogs, wistfully scrolling through mouth-watering pictures of food. 

When I cook, I don’t normally use a recipe. My mother’s style of cooking involves pinches of this, dashes of that and tasting along the way – a habit that I have inherited now that I do my own cooking. It can be frustrating for some when I’m asked for a recipe since I really don’t know how to give units of measure when I throw something together.

Every now and then I come across a recipe that I’m curious about – either it sounds really delicious or I’ve never heard of it before and I want to try it. The latter was the case when it came to Green Bean Casserole. Before this week I had never heard of green bean casserole and had no idea such a dish existed. So, armed with a pile of green beans that were in desperate need of being used, and a recipe from Campbell’s which is apparently THE recipe for this dish, I attempted it for dinner the other night. 

The original recipe called for French fried onions, but it was rainy and cold outside and I really didn’t feel like running to the store. A quick online search for an alternative ingredient and I decided to try crushing potato chips over the top since many people suggested this made it even better. I also went ahead and sprinkled Italian seasoned breadcrumbs as well to give it extra flavour and crunch. I was worried that the dish would turn out bland so I grated sharp cheddar cheese into the dish as well as to top the crumb mixture. This turned out to be a great addition as it really held the soup to the beans.

Once baked, the casserole turned out pretty good. The beans stayed crispy and the crushed chips gave it extra flavour with the muted mushroom soup. The soup itself was still a bit runny for my liking, but it made a great sauce to be spooned on top once it was portioned out. I served it with panko crusted baked fish and some steamed rice, and it was an excellent vegetable side dish. The original recipe suggested that you could use canned beans to make this dish, but I would advise against it if you like some crunch to your vegetables. I feel like it would be too mushy along with the soup mixture, and would make for a very soft side dish. 

I liked the dish enough to add it to my repertoire of vegetable sides. It is a dish that is versatile to be paired with a variety of meats and starches, and was a great way to get the boyfriend to eat his vegetables!

Loosely adapted from the Campbell’s site, this is Neurotic Green Bean Casserole

1 can (10 3/4 ounces) Campbell's® Condensed Cream of Mushroom Soup (I used 98% Fat Free)
1/2 C milk (I used soy)
1 tsp soy sauce
4 C cooked cut green beans
1/2 C shredded sharp cheddar cheese
Sprinkling of Italian breadcrumbs
1/2 C crushed regular potato chips
Ground black pepper to taste

1.       Stir the soup, milk, soy sauce, black pepper, beans and half the cheese in a 2 qt casserole dish.
2.       After prepping the beans, steam for approx. 3 minutes to start the cooking process but maintain crunch.
3.       Drain the beans and stir in soup mixture.
4.       Bake at 350°F for 25 minutes or until the bean mixture is hot and bubbling. 
5.       Stir the mixture.  Sprinkle with a layer of breadcrumbs, potato chips and the remaining cheese.
6.        Bake for 5 minutes or until the cheese has a bubbly crust.